
Guía: ¿Por qué y cómo cambiar el lente láser de su máquina de grabado?
Descubra cómo los lentes láser pueden mejorar la calidad y la productividad del grabado o el corte.
A menudo subestimado, el lente de su láser tiene un impacto decisivo en la calidad del corte y del grabado.
El cambio de lentes láser le permite modelar el haz de su máquina en función de ciertas propiedades.
Con esta guía, conozca los efectos de su lente en su haz láser y determine qué lente es la mejor respuesta para su aplicación.
|
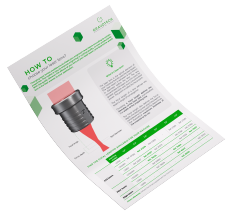
¡Obtenga nuestra guía hecha por expertos sobre cómo elegir lentes láser! |
|---|

¿Qué es un lente láser?
¿QUÉ ES?
El lente láser es el elemento óptico de su máquina que enfoca el haz. El haz láser tiene entre 8 y 10 mm de diámetro antes del lente, el cual concentra el haz en un punto fino para obtener una mayor precisión y una potencia más concentrada. Este punto se denomina punto focal.
La distancia focal de un lente define el ángulo de convergencia del haz.
¿POR QUÉ?
Seleccionar la distancia focal define el diámetro del punto láser y, por tanto, la anchura de la línea de grabado.
La distancia focal también define la profundidad de enfoque, es decir, la distancia sobre la que se considera que el haz está enfocado, lo que determina el grosor máximo teórico del material que se va a cortar.
Nuestras lentes láser imprescindibles

Lente 1.5''
Precisión y claridad
Perfecto para: grabado de precisión, sellos de tinta detallados, corte de precisión en materiales finos, fotos y logotipos de alta resolución (>800DPI).
No apto para: cortar materiales gruesos (>3 mm) y áreas de grabado grandes.
| Propiedades del rayo láser | |
|---|---|
| Diámetro del punto (mm) | 0.06 |
| Profundidad de enfoque (mm) | 0.5 |
| Distancia focal (mm) | 37.5 |

Lente 2.0''
De usos múltiples
Perfecto para: grabado y corte de plásticos de 2 capas, grabado de letras (>1 mm de altura) y fotos y logotipos de resolución media (<500DPI).
No apto para: grabado de precisión o corte de materiales gruesos (>8mm).
| Propiedades del rayo láser | |
|---|---|
| Diámetro del punto (mm) | 0.08 |
| Distancia focal (mm) | 0.8 |
| Profundidad de enfoque (mm) | 50.0 |

Lente 4.0''
Corte de materiales gruesos y grabado rápido
Perfecto para: corte de materiales gruesos (<25 mm), grabado de caracteres grandes o áreas extensas, grabado de objetos con superficies huecas o irregulares o diseños con poco detalle (<200DPI).
Desventajas: Baja resolución y líneas de corte anchas
| Propiedades del rayo láser | |
|---|---|
| Diámetro del punto (mm) | 0.16 |
| Profundidad de enfoque (mm) | 3.3 |
| Distancia focal (mm) | 100 |
Other focal lengths are available
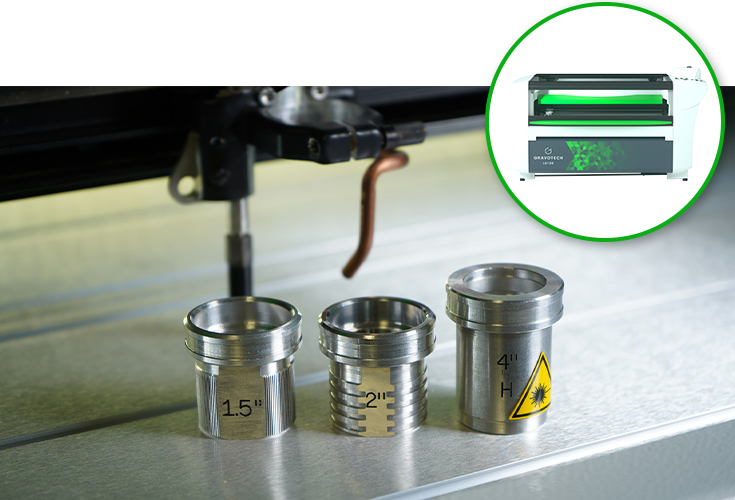
Check out all the laser lenses for the LS series. |
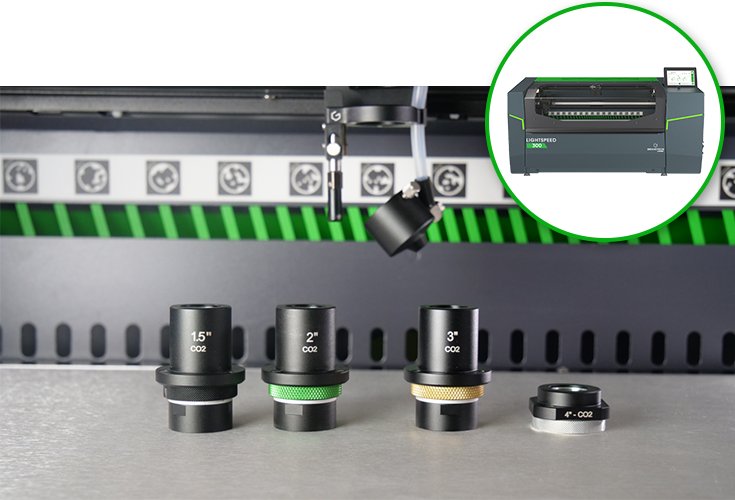
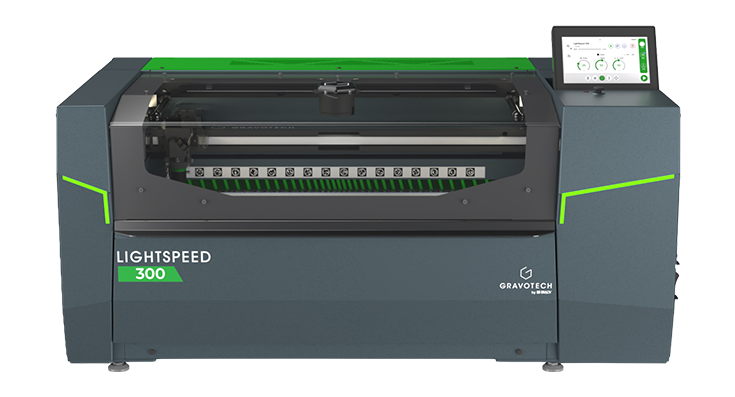
Discover the Click Lens concept for the LightSpeed 300. |
Comparación de grabados
A continuación se muestra el desempeño de ambos lentes en un grabado en madera con gran detalle.

Grabado con lente de 1.5"
El grabado más detallado y preciso

Grabado con lente de 2"
Un buen resultado, pero faltan algunos detalles mínimos

Grabado con lente de 4"
Un grabado tosco que luce borroso
Comparación de cortes
Esta es una comparación de los lentes usados para cortar una lámina acrílica de 10 mm de grosor.

Corte con lente de 1.5"
Un corte ondulado

Corte con lente de 2"
Un cote con bordes ligeramente inclinados

Corte con lente de 4"
Un corte totalmente recto
How to calibrate your laser machine to your new lens?
The calibration process for your lens depends on your machine:
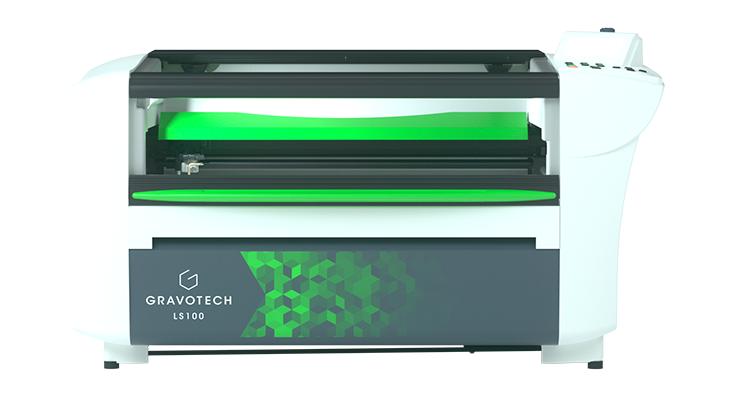
Calibration process for LS range

1. Save your actual configuration and replace the lens
First, launch our driver's interface by opening your machine's printing preferences on your computer.
In the "machine" tab, back up your current settings by clicking on the "Send to computer" button.
Then, unscrew the fleece screw to remove your current lens and attach your new lens in its place.


Calibration process for LightSpeed
The lens calibration process for the LightSpeed 300 is essentially the same as for the LS range. However, the LightSpeed 300 features a built-in interface that guides the user step by step directly on the machine's screen.
All calibration parameters are also stored in the machine, allowing it to save multiple settings for different focal lengths.


How to clean your laser lens and why it matters
Regularly cleaning your laser lens is essential to maintain consistent engraving and cutting quality, preserve the power of the laser beam, and prevent damage caused by dust, smoke, or material residues.
The cleaning frequency depends on how intensively the machine is used and the materials being processed, but it is recommended to check the lens at least once a week, or more often for heavy use or materials that generate a lot of smoke.
For safe and effective maintenance, Gravotech offers the Lens cleaner kit, which includes a lens cleaning solution, suitable wipes, and cotton swabs.
Ref.26327
|
|
¡Obtenga nuestra guía hecha por expertos sobre cómo elegir lentes láser! |
|---|